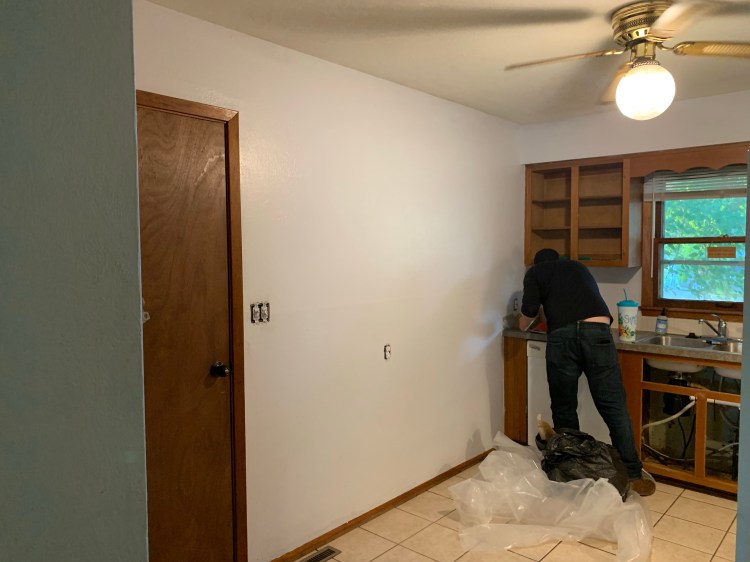
We started in the kitchen with its dated cabinets, dingy walls and dark trim. Everything needed wiped down, contact paper replaced, the doors and hardware removed for further updates. We even decided to ditch the mini blinds and top trim.

Cabinet doors, drawers and hardware were the first to be taken out before we started painting the walls. We chose Berries & Cream as the color for the walls, as it looked pale grey, even bordering on white in the samples.


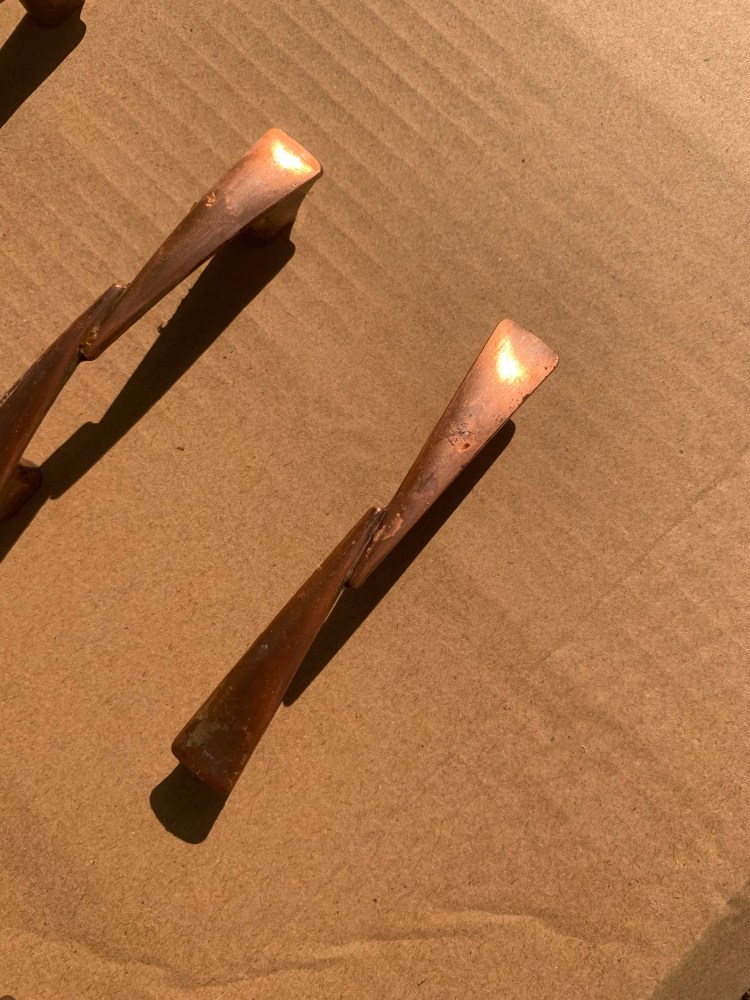
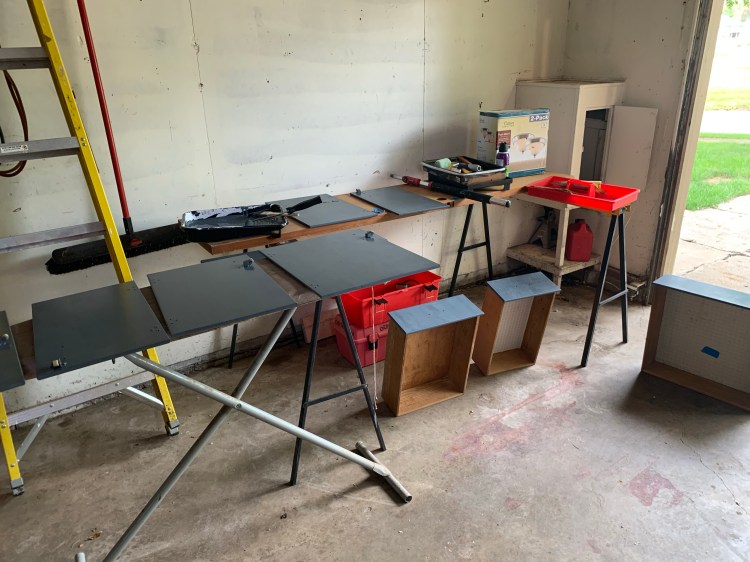
Next came the sanding of the cabinet doors, scrubbing and painting of the hardware and the task of replacing contact paper before reinstalling the doors and drawers. The hardware and light above the sink was painted with black spray paint and primer. Upper cabinets were colored for a contrast to the walls (not as much as we were hoping for) and the bottom cabinets for that sharp pop.


Next came the trim, which was a pure white primer and paint for trim and doors. The window latch and knob were spray painted black to match the hardware. Trimming was the most tedious and took three gallons to complete the entire house. In hindsight, now that the doors, also updated to white, are installed, the trim around the doors may need third or fourth coats. No worries about the paint misstep, it took a day for my shoe to dry out after it was rinsed of the paint and David carried me and the paint out of the house to keep from spilling on the floor.


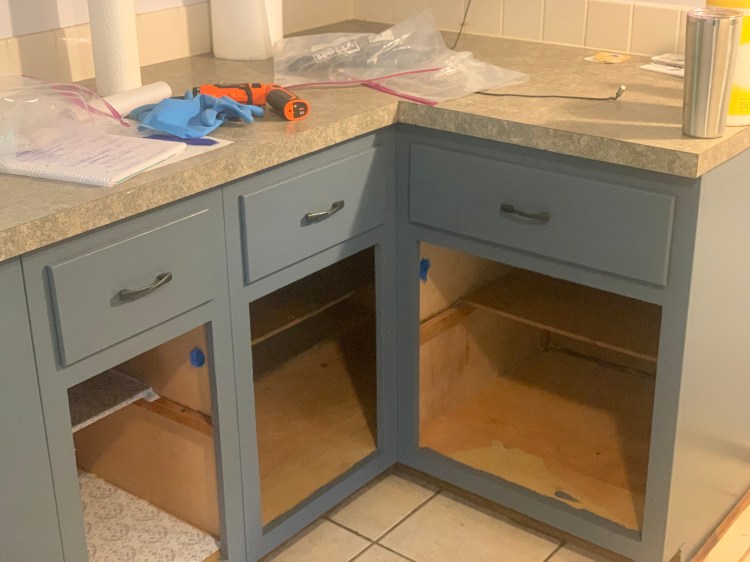
The finished product is so nice, it updated the space and seemed to me to give it a little extra room…even though no square footage was added. We found a beautiful stove on Facebook Marketplace and after it was scrubbed to death, it looks amazing. Now that an addition was it into another room, there’s an extra wall.

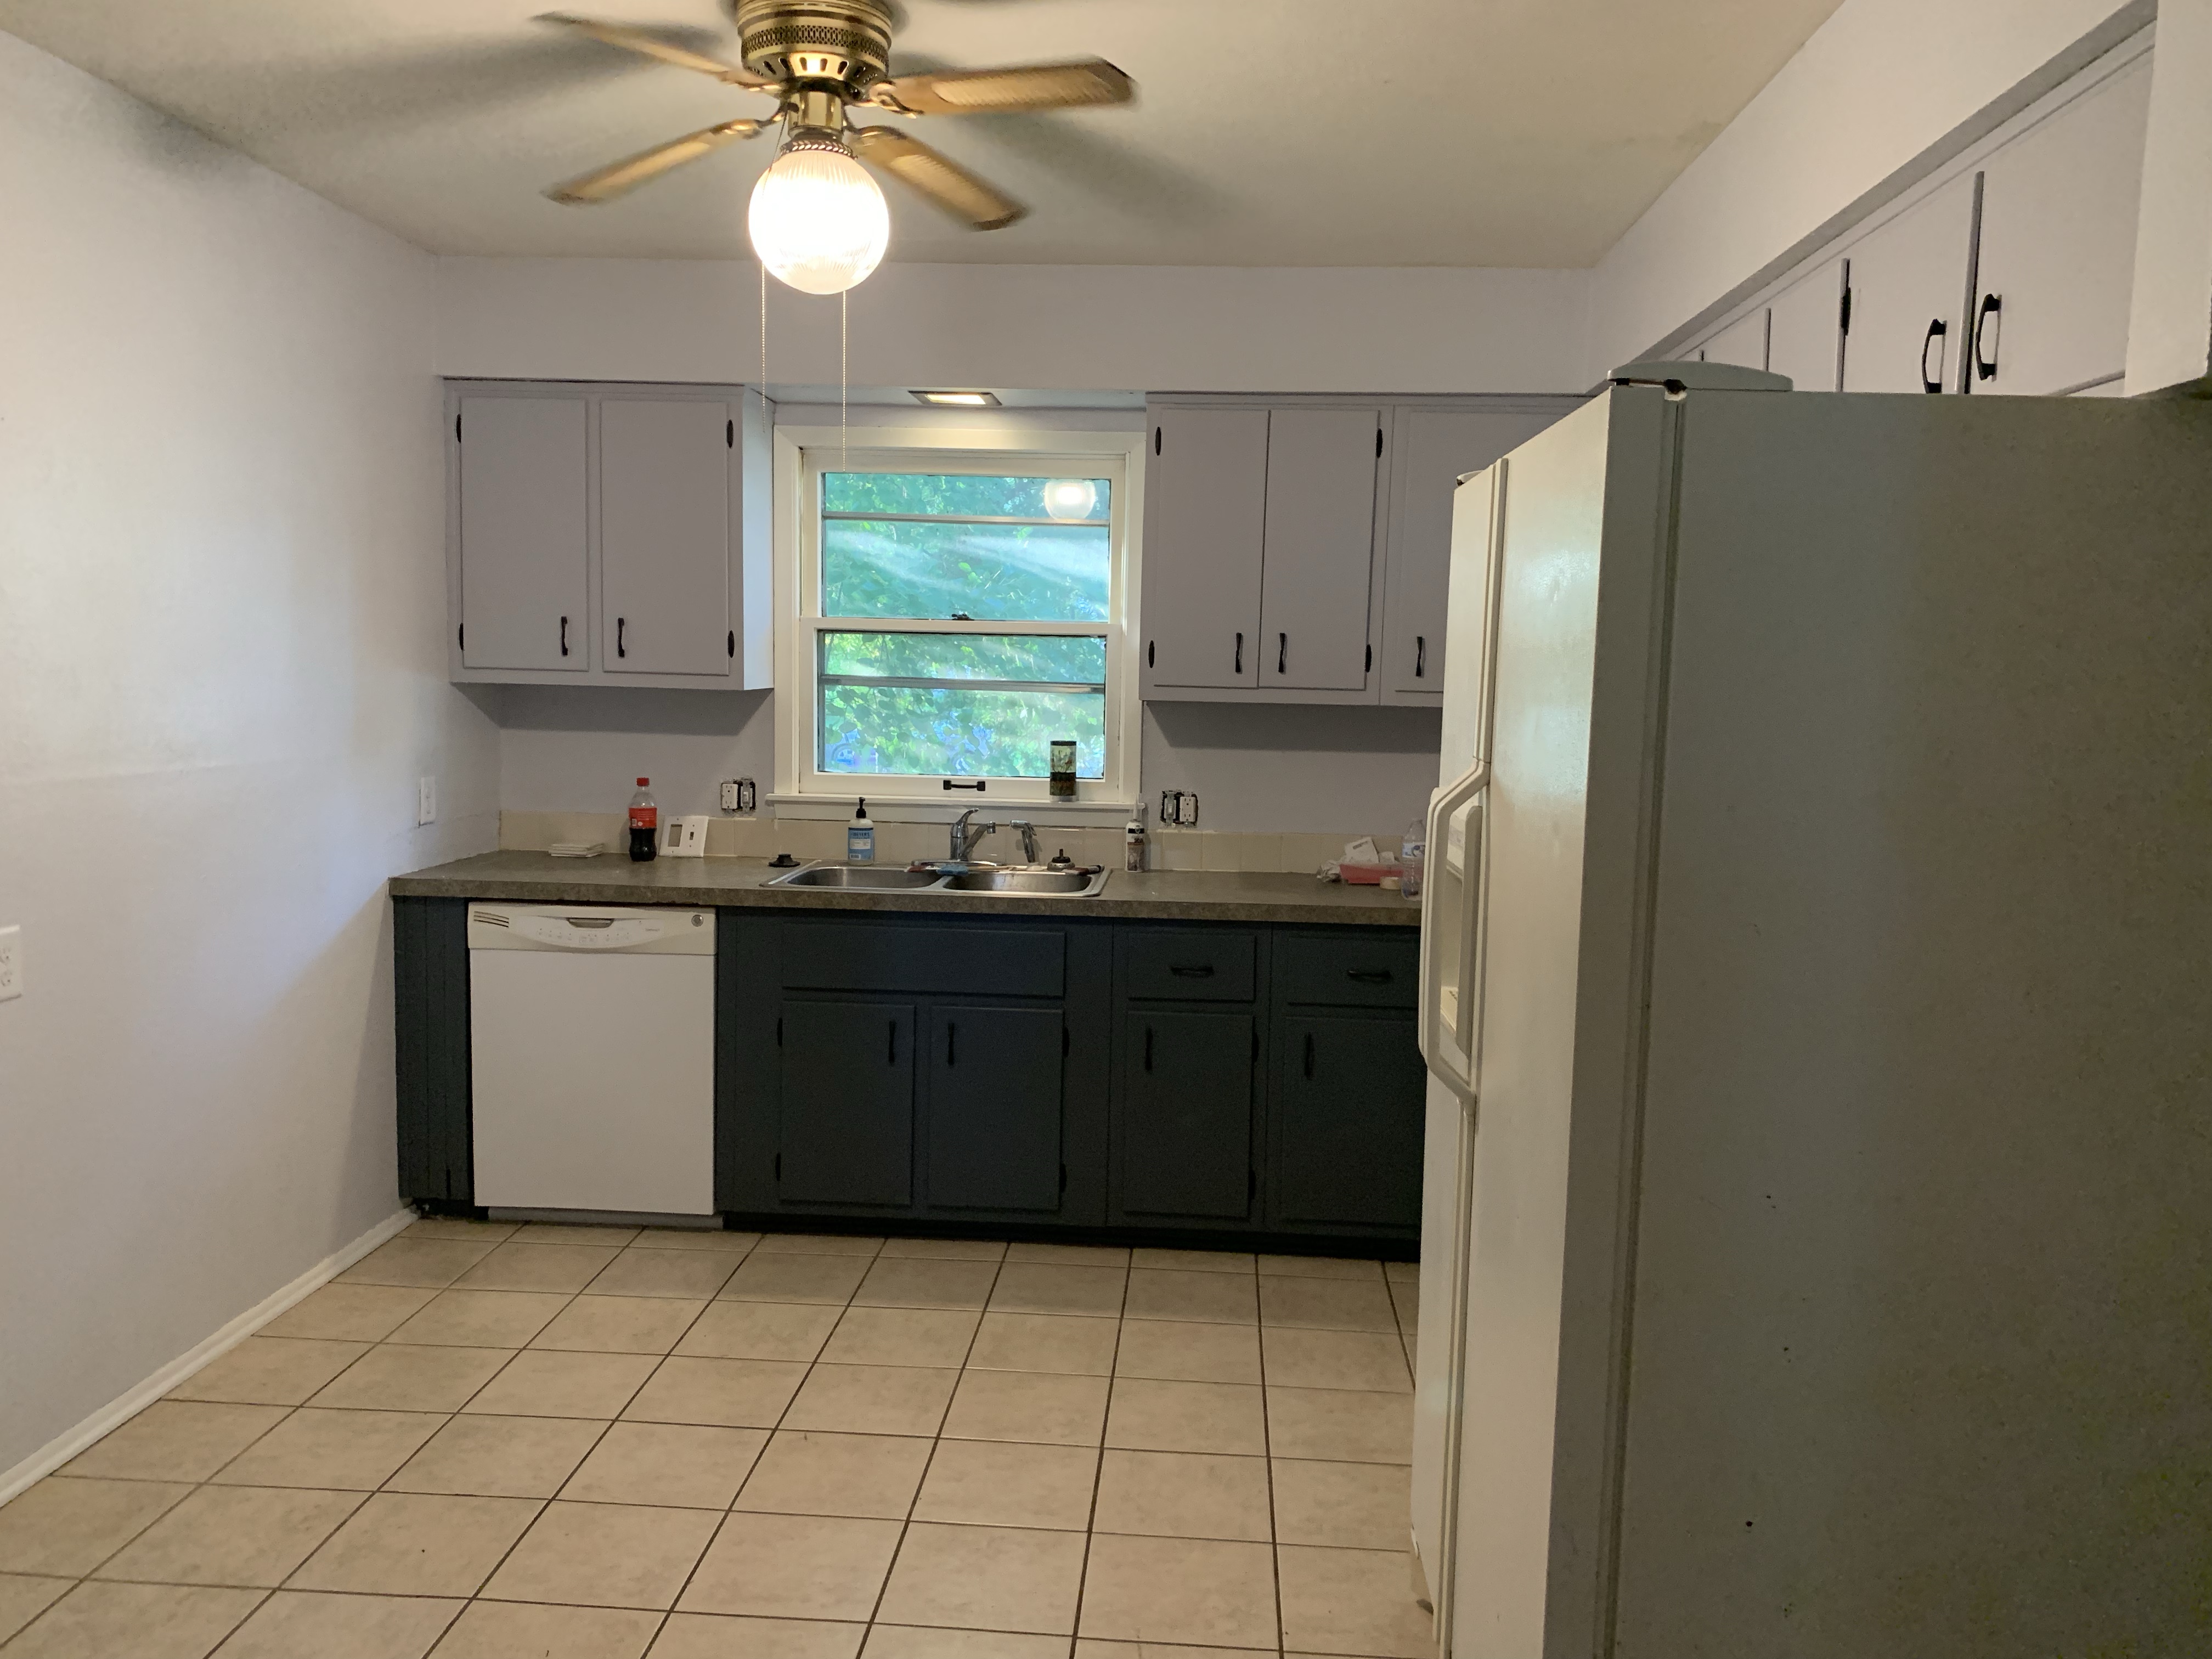
Paint colors: Berries & Cream on walls, Endless Grey on top cabinets, Compelling on bottom all in satin finish. Pure white flat for trim and black primer and paint in flat for hardware.
